How to setup MacOS Apple Mail
Congratulations on your new server! Now that you have a server, you can start sending and receiving emails. In this tutorial, we will show you how to set up Apple Mail to send and receive emails using your new server.
Attention
This tutorial assumes you have already set up your server and already create a server user. If you haven't done that yet, please follow our tutorial Just ordered a server now what.
1- Open Apple Mail
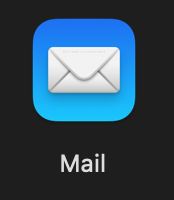
Open Apple Mail by clicking to the icon either by searching through spotlight or locating it in Applications
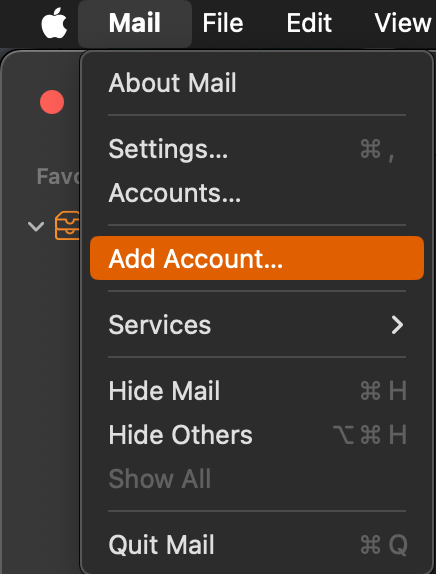
2- Click on "Add Account" in "Mail" menu in top bar.
Click on "Add Account" in "Mail" menu in top bar. This will open a new to select your mail provider.
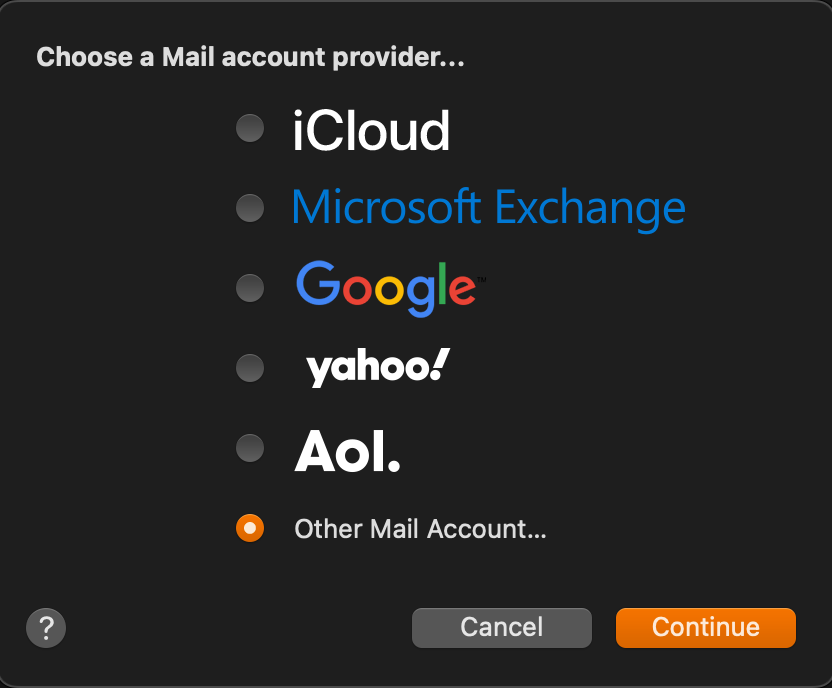
2- Select "Other Mail Account" and click on "Continue"
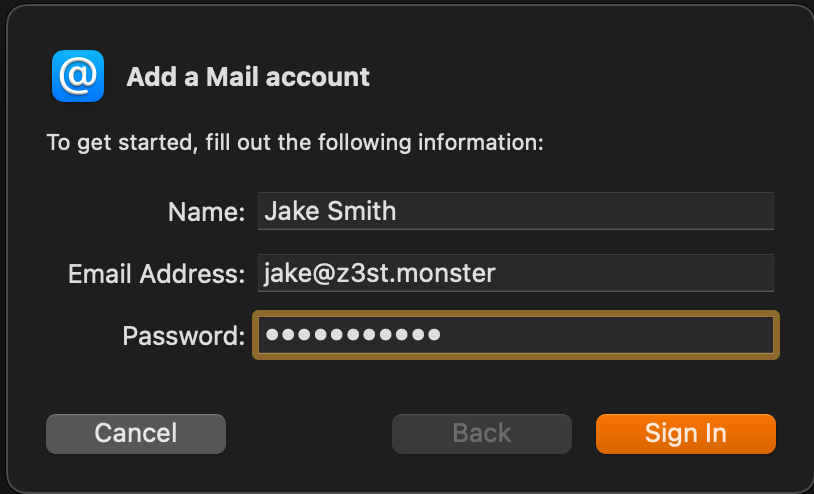
4- Fill your account details
Fill in your account details. You will need to fill in your name, email address and your password. Click on "Sign In" to continue.
5- Don't panic! Apple Mail will show a harmless error
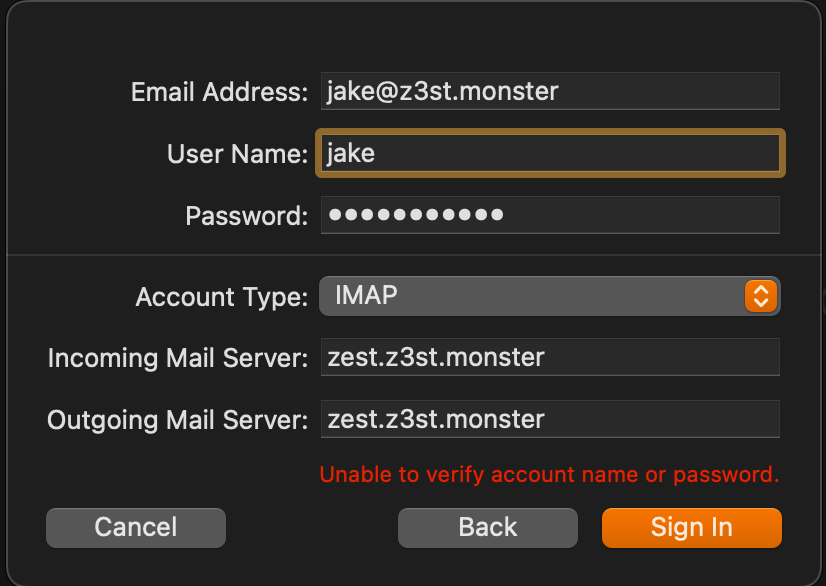
Apple Mail will show an error saying it can't verify the account. This is normal because apple mail chooses to panic when it can't verify the account. Fill in your server details and click on "Sign In" to continue.
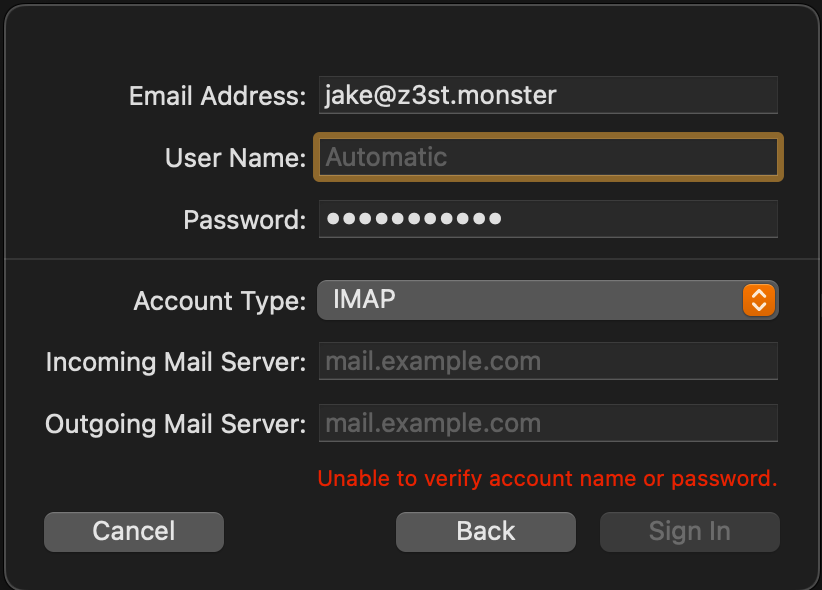
Fill in your username and your incoming and outgoing mail server. This will be your server's hostname added with 'zest.' as a prefix. Example; for email address '[email protected]', your email server should be 'zest.z3st.monster'. Click on "Sign In" to continue.
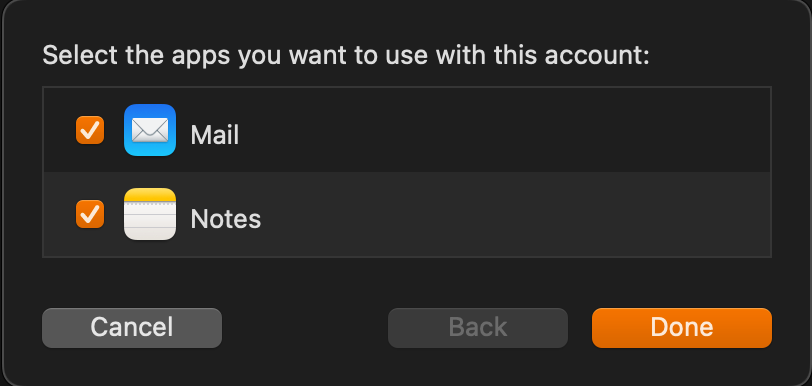
6- Done!
You are done! You can now send and receive emails using your new server.

Get started today
It’s time to take control of your data.
14 day money back guarantee! Pick your server now