How to setup mail forwarding
Attention
This tutorial assumes you have already set up your server and already create a server user. If you haven't done that yet, please follow our tutorial Just ordered a server now what.
1- Open up your server in ZEST dashboard.
Click here to open your dashboard and select the server you want to create aliases on.
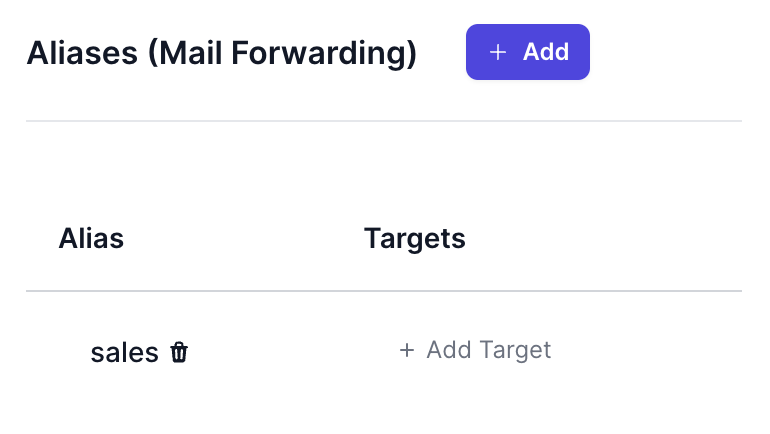
2- Scroll down to section "Aliases (Mail Forwarding)"
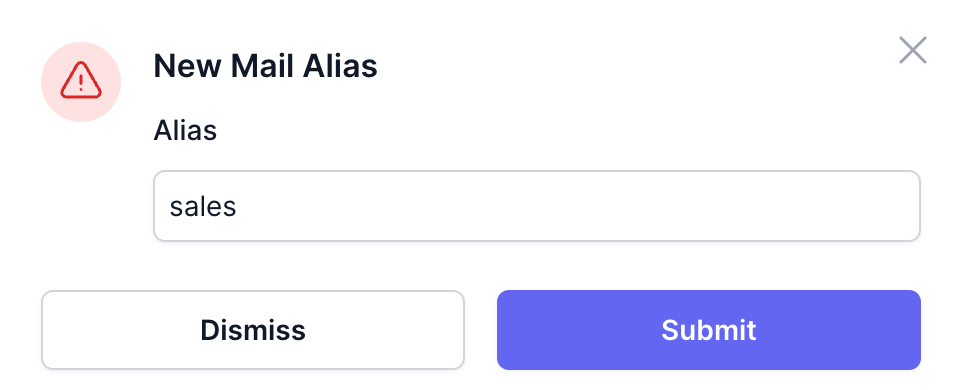
3- Click on add button and fill out the alias you want to create. In this example we're going to redirect all email coming to [email protected] to selected users.
Click on the "Add" button

Fill out the form
4- Creating targets
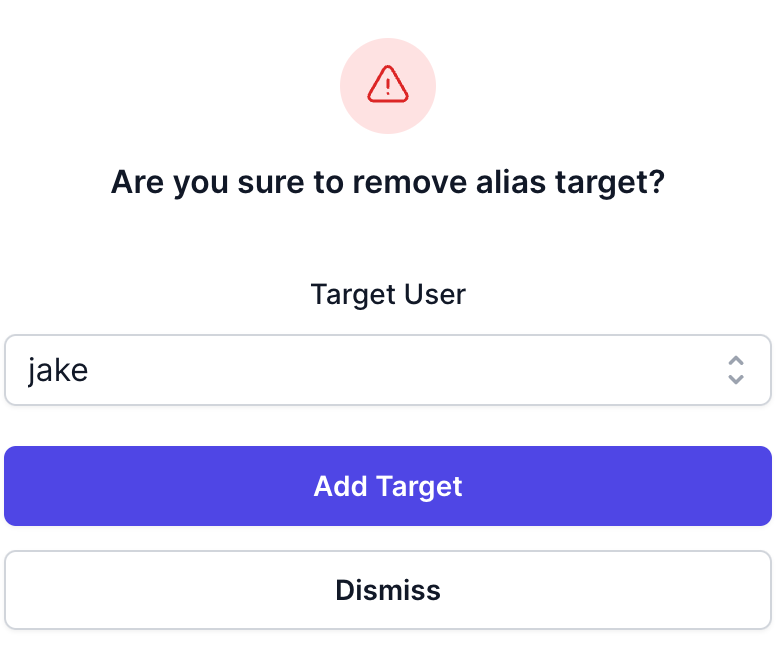
Click on the "Add Target" button
Select the users you want to forward the email to.
Congratulations! You have successfully set up mail forwarding for your domain. From this point on, all emails sent to [email protected] will be forwarded to the selected users.

Get started today
It’s time to take control of your data.
14 day money back guarantee! Pick your server now